Vintage Photography Techniques to Explore
Snapping pics went from hard to simple overnight. Aim, click, peek at the display, toss it out if it’s bad, just start over.
Yet we kinda lost a bit along the way. Film days meant waiting, thinking ahead, being cool with flaws.
Those shots had soul – something apps still can’t fake. Some old-school photo tricks are popping up again with shooters after something real.
These ways take extra time, yet give back pictures that seem physical, almost breathing. Not necessary to ditch your digital gear for this.
A bunch fit right next to today’s tools or use stuff you can grab easily.
Wet Plate Collodion

This process dates back to the 1850s and creates images on glass or metal plates. You coat a plate with collodion, sensitize it in silver nitrate, expose it while still wet, and develop it immediately.
The whole procedure takes about fifteen minutes from start to finish. The images have an ethereal quality that digital can’t match.
Each plate is unique. The slight imperfections, the vignetting around the edges, the way light plays across the surface—these characteristics give wet plate images their distinctive look.
The process demands complete attention. You can’t get distracted or lazy because the chemistry only works while the plate stays wet.
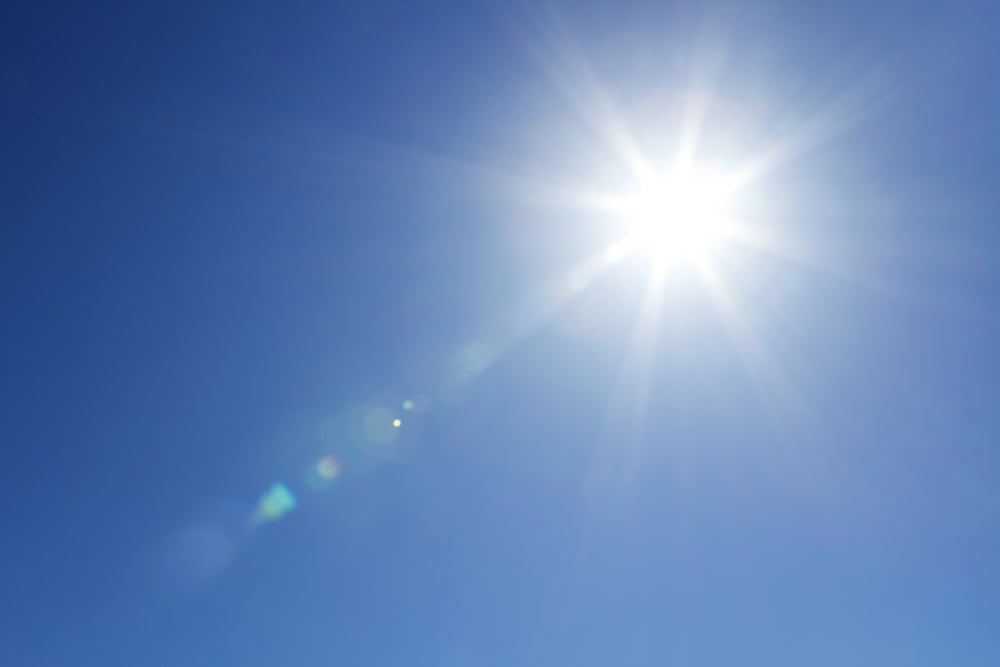
Cyanotype Printing
Cyanotypes produce those distinctive blue images you might recognize from old architectural blueprints. The process uses iron salts that react to UV light.
You coat paper with the solution, place objects or negatives on top, expose it to sunlight, then wash it in water. The exposed areas turn blue while the covered sections stay white.
Anyone can try this at home. The chemicals are relatively safe and inexpensive.
You don’t need a darkroom because the coating is only sensitive to UV light. Kids often start with cyanotypes by making photograms—placing leaves, flowers, or other objects directly on the coated paper.
But the technique also works for contact printing from large format negatives.
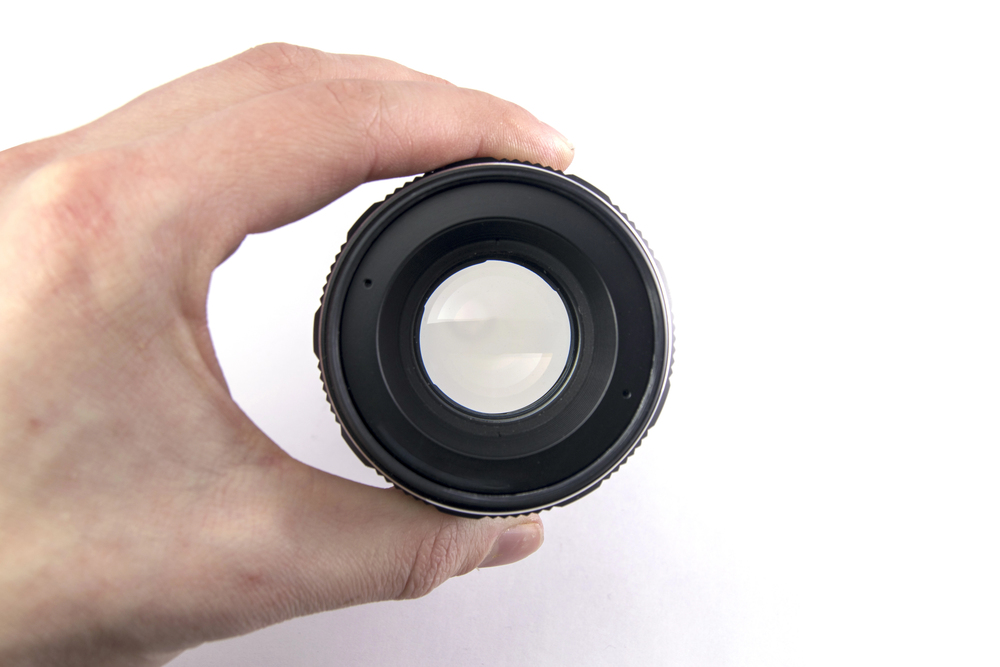
Aperture-Only Photography
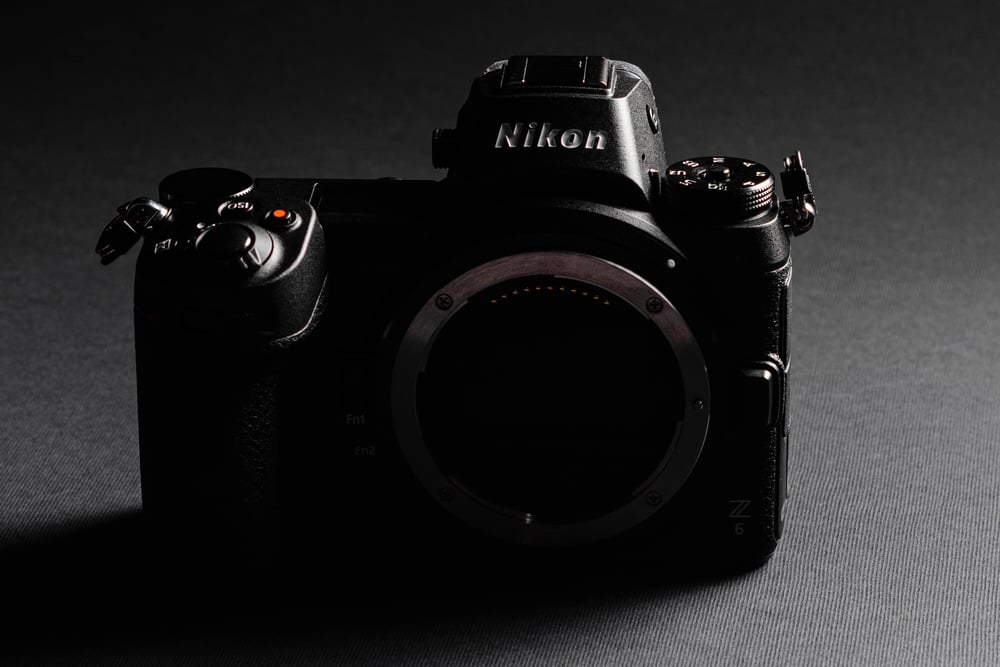
Remove the lens from a camera and replace it with a tiny opening. That’s aperture-only photography in its simplest form.
The tiny opening creates incredibly sharp focus throughout the entire image. Everything from a few inches away to infinity appears clear.
You can convert almost any light-tight container into this type of camera. People use oatmeal canisters, matchboxes, or old film cameras with the lens removed.
Exposures take much longer than with a lens, sometimes several minutes in bright daylight. This extended exposure time gives these images their dreamy, soft quality.
Moving objects blur or disappear entirely, while stationary elements remain sharp.
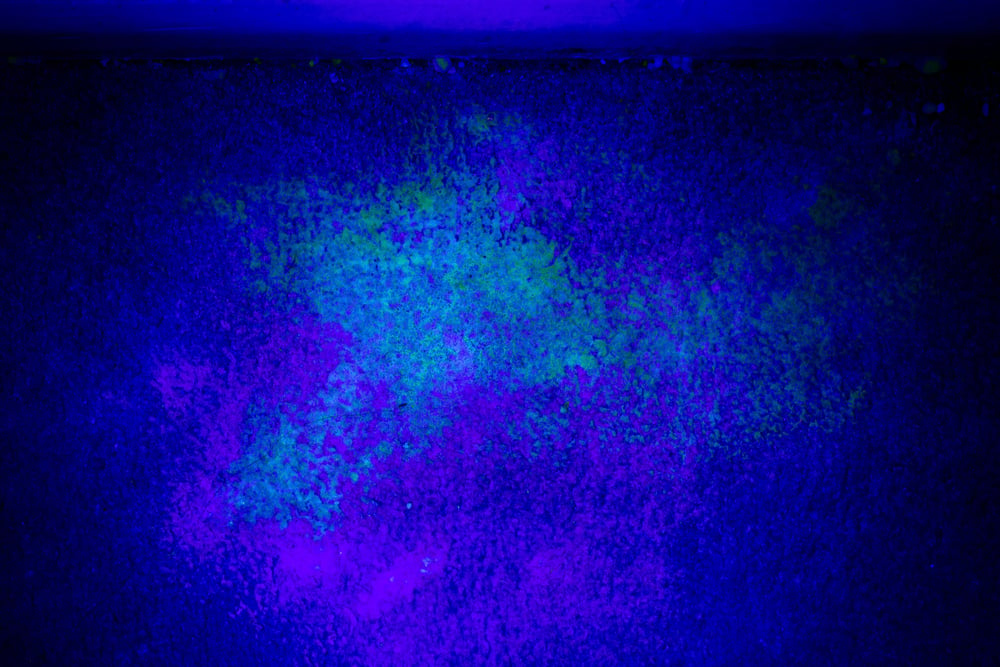
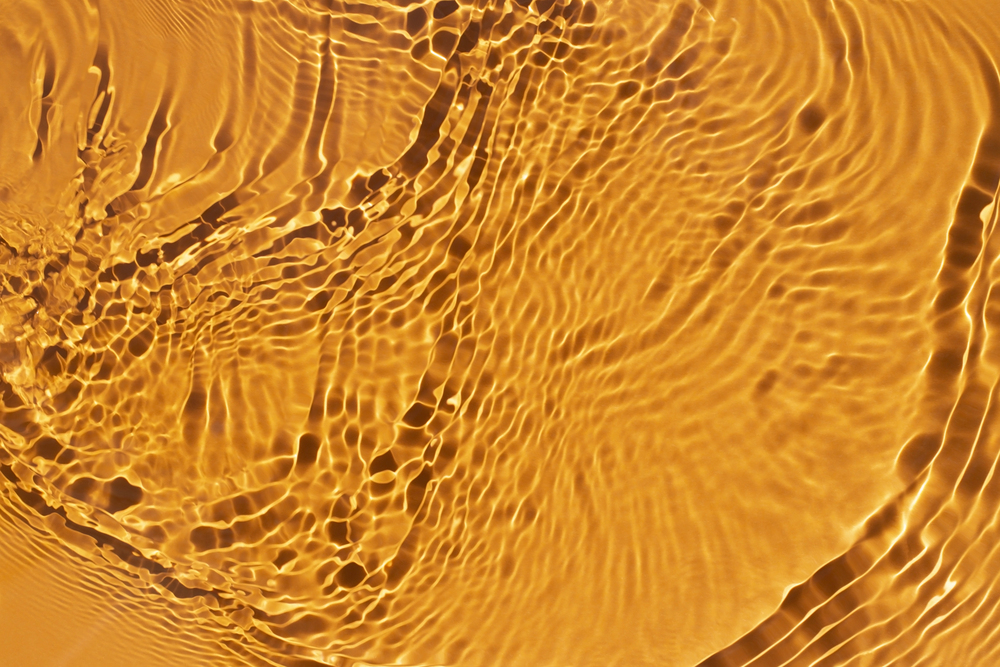
Lumen Printing
Lumen prints use expired or outdated photographic paper exposed to direct sunlight without any development chemistry. The paper changes color based on the intensity of light and the length of exposure.
Different papers produce different colors—pinks, purples, yellows, oranges. The process is wonderfully unpredictable.
Place objects on the paper, leave it in the sun for anywhere from thirty minutes to several hours, then fix the image or scan it before the colors fade. Some photographers soak the paper first or sandwich it with plant materials to create unique color shifts.
No two lumen prints look exactly alike.
Tintypes on Aluminum
Tintypes aren’t actually made on tin but on thin sheets of iron or aluminum. The modern version uses aluminum plates that you can cut to any size.
Like wet plate collodion, you coat the plate with chemistry, expose it while wet, and develop it immediately. The process produces a positive image directly on the metal.
You hold a physical object that contains the photograph. The plates are durable and won’t fade.
Street photographers sometimes offer tintypes at fairs or events, creating portraits that customers can take home within minutes. The images have an old-fashioned quality that people find appealing.
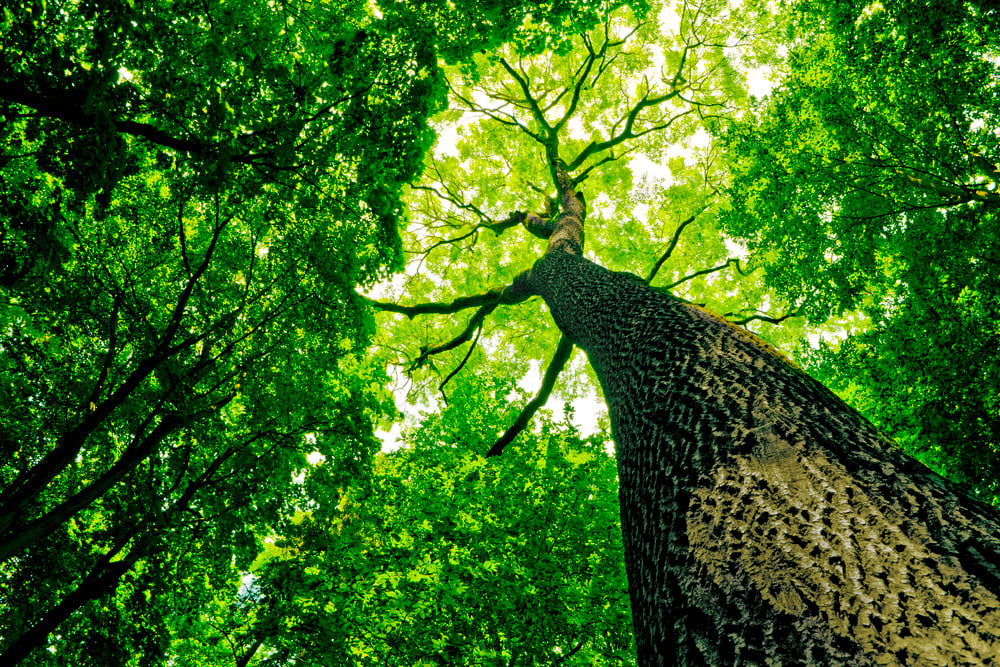
Liquid Emulsion on Unusual Surfaces
Liquid light emulsion allows you to make photographs on almost any surface. Wood, fabric, ceramics, rocks—if you can coat it, you can print on it.
The emulsion contains the same light-sensitive silver that regular photo paper uses, but in a liquid form you can brush or pour onto objects. This opens up creative possibilities beyond flat prints.
Photographers make images on vintage books, tree bark, or hand-made paper. The texture of the surface becomes part of the photograph.
A portrait printed on rough wood gains character from the grain. An image on fabric drapes and folds in ways a paper print never could.
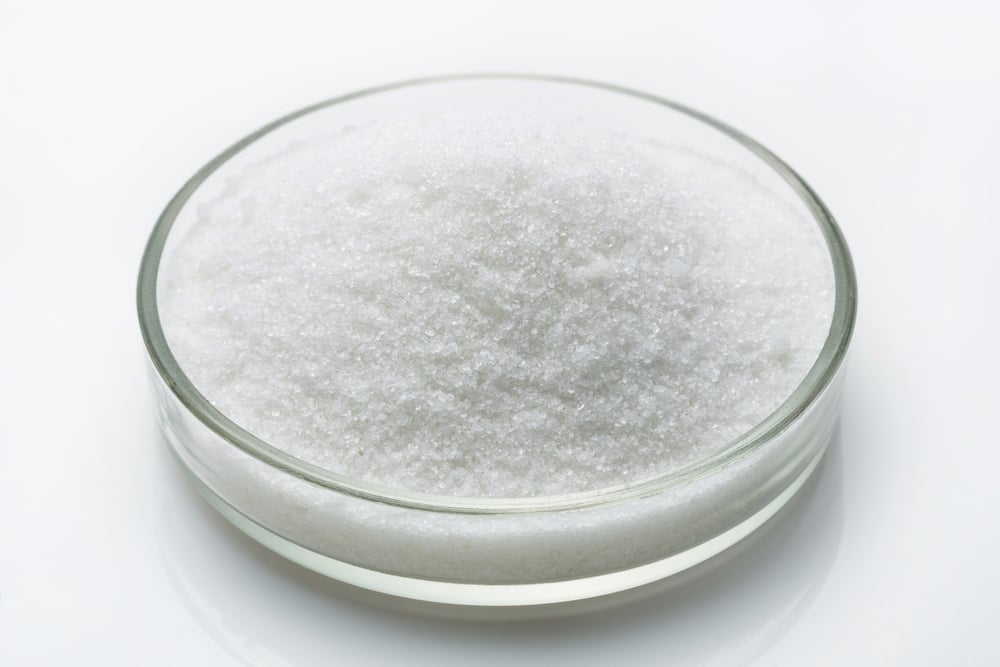
Salt Printing
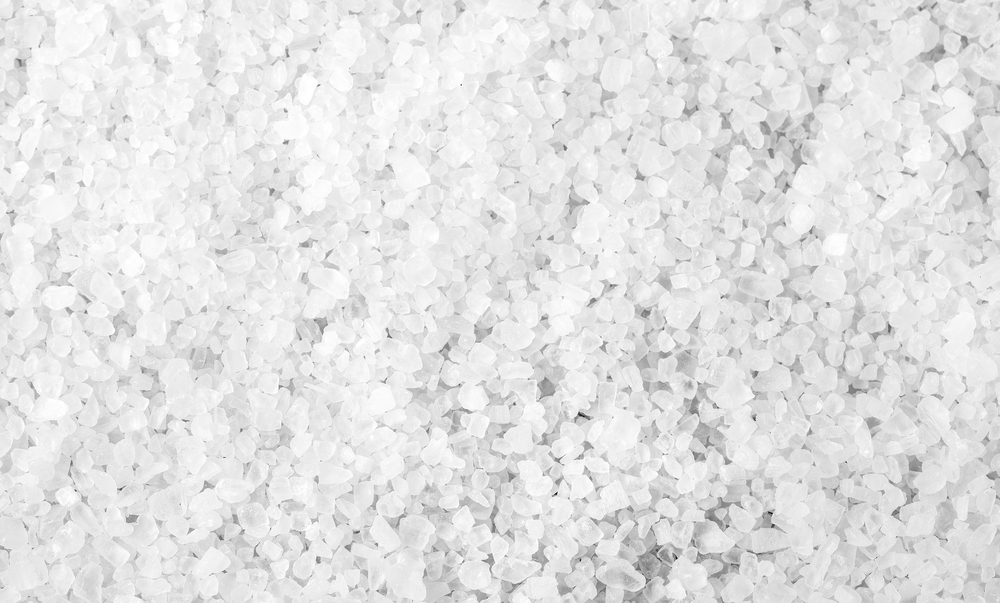
Salt printing was one of the earliest photographic processes. You coat paper with a salt solution, then a silver nitrate solution, creating light-sensitive silver chloride in the paper fibers.
After exposing through a negative in contact with the paper, you tone and fix the print. Salt prints have a matte surface and warm tones ranging from reddish brown to purple brown.
The images sit within the paper rather than on top of it, giving them a soft, embedded quality. The process works well for botanical subjects and portraits.
Modern practitioners often gold tone their salt prints to improve permanence and enhance the color.
Gum Bichromate
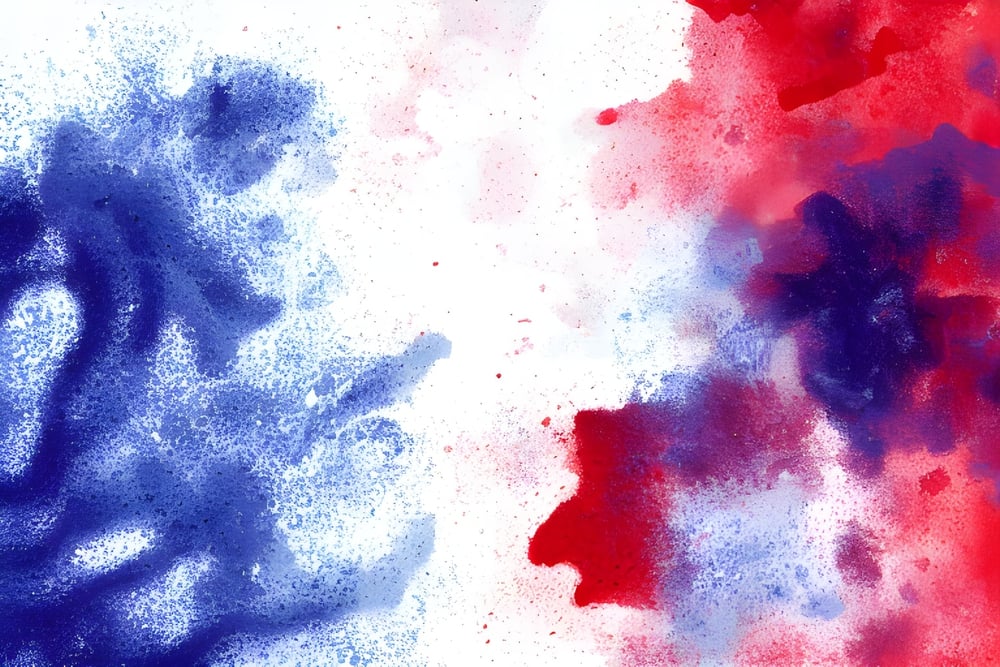
Gum bichromate lets you add color to your prints by hand. You mix watercolor paint with gum arabic and ammonium dichromate, coat paper with the mixture, and expose it through a negative.
The exposed areas harden while the unexposed areas wash away, leaving a colorful image. You can print multiple layers in different colors to create a full-color photograph.
Each layer requires careful registration and a new coating. The process gives you complete control over the final colors and tones.
Some photographers aim for realistic color while others embrace the painterly quality that multiple layers produce.
Anthotype Printing
Anthotypes use plant-based emulsions instead of chemicals. You crush flower petals or berries to extract their pigments, coat paper with the juice, and expose it to sunlight through a negative or object.
The areas exposed to light fade while the covered areas retain their color. This is possibly the slowest photographic process in existence.
Exposures can take weeks or even months of direct sunlight. The resulting images gradually fade over time unless you keep them in darkness.
But the unique colors and the satisfaction of creating a photograph from flowers makes the process rewarding for patient experimenters.
Split-Toning with Selenium and Sepia
Split-toning changes the color of different tonal ranges in a black and white print. Selenium toner affects the shadows first, adding a purple or brown cast to the darkest areas while leaving the highlights neutral.
Sepia toner warms the entire image but you can stop the process partway to create a split effect. The technique adds depth and visual interest to prints.
A landscape with warm sepia highlights and cool selenium shadows has more dimension than a straight black and white print. Many photographers tone all their prints to improve archival stability, but split-toning turns that practical step into a creative decision.
Mordançage
This process partially dissolves the gelatin in a developed print, creating a relief effect. You treat a standard black and white print with a special solution that attacks the highlights while leaving the shadows intact.
The gelatin lifts and wrinkles, sometimes separating from the paper. The results range from subtle texture to dramatic distortion.
You can manipulate the lifting gelatin while it’s wet, moving it around to create unique effects. Some photographers transfer the floating gelatin to another surface.
The process turns flat prints into dimensional objects with a haunting, otherworldly quality.
Van Dyke Brown Printing

Van Dyke brown printing produces rich brown images from a simple formula of iron and silver salts. You mix the chemistry, coat paper, expose it to UV light through a negative, and wash it.
The process closely resembles platinum printing but costs much less. The prints have a distinctive chocolate brown color that works particularly well for certain subjects.
Portraits and architectural images gain warmth from the brown tones. You can tone Van Dyke prints with gold or selenium to shift the color or improve permanence.
The process serves as a good introduction to contact printing before attempting more complex methods.
The Tactile Connection
These outdated methods make you take it slow. Shooting tons of photos won’t help – only a few might pay off.
Every shot takes planning, time, because results don’t come fast. Chemicals must be stirred by hand, plates carefully covered, progress stays unpredictable.
Yet this slow way shifts your view. Because you examine things closer.
Since lighting and framing get extra thought. Though once the picture shows up – on glass, metal, or homemade paper – it’s one-of-a-kind.
While that single piece means more than any digital file saved somewhere.
More from Go2Tutors!

- The Romanov Crown Jewels and Their Tragic Fate
- 13 Historical Mysteries That Science Still Can’t Solve
- Famous Hoaxes That Fooled the World for Years
- 15 Child Stars with Tragic Adult Lives
- 16 Famous Jewelry Pieces in History
Like Go2Tutors’s content? Follow us on MSN.